The scale diameter of the ASP is 6.5", which matches no available rocket airframe tube sizes, so concrete-form ("Sono") tube is the best option. I bought a 12-foot piece from White Cap in Salt Lake for $15. It wasn't actually Sono brand, but Caraustar brand Kolumn [sic] Form tubing. Sono tube isn't dimensioned precisely, and apparently sometimes is shipped with the same nominal size tubes inside one another. This particular 6" diameter piece measured right on 6" I.D. with 1/8" thick walls, so that's 6.25" O.D.--close enough to scale, especially with the extra thickness from fiberglassing.
I cut the tube into three sections where the finished rocket will break apart, and fiberglassed each section separately in these manageably-sized chunks. Fiberglass cloth, an inner layer of 5.6 oz and an outer of 3.7 oz, were mail-ordered from Fiberglass Supply near Columbia River Gorge, so you can guess that they supply windsurfers, but their stock and prices are very good. I also got nylon peel-ply (a fine-weave permeable release fabric) and breather from them. Epoxy resin came from Epoxy5050.com, a boatbuilding supplier in upstate New York, whose laminating resin is only $55/gal. which is about half what West Systems epoxy costs.
I cut the fabric about 1" long at either end, and to overlap itself by about 1" also. The peel-ply was cut larger, with 2" or 3" overlap, and the breather even more, maybe 6" or 8" overlap. I marked a centerline down each piece of fabric and the peel-ply, and longitudinal lines down the airframe, 180° apart for the glass seams, and 90° off these for the peel-ply. I had my motor-mount tube centering rings (three) cut already, and these went into the tube, along with stepped end caps which I waxed and covered with Saran Wrap before insertion. This was then placed onto a broom handle suspended at a comfortable working height (over newspaper!), cabable of being turned easily. This means that all of your internal support pieces (centering rings, end caps, whatever) will need holes in their centers. Why is this internal support needed? Imagine that sickening crunch you'll hear as the vacuum press crushes your tube. That's why.
Epoxy needs to be mixed in small quantities, otherwise the exothermic curing will set off a chain reaction and it will gel before you know it. (Don't ask.) About 100 ml at once seems to be safe. I like to mix in used (rinsed) Starbuck's cups, although this adds considerably to the project's cost. Paper cups intended for cold drinks are often coated with wax, so avoid them. Stir, stir, stir. Three minutes. Scrape the bottom and sides, and all surfaces of the stirring stick, so that nothing can hide in a corner. Like boys at a junior high dance.
Pour the mixed resin into a painting tray liner, and apply it with a 3" paint roller. The amount of resin I needed for 6" Sono tube was about 100 ml per 10" of tube, plus 100 ml for the roller. Lay down a layer of cloth, using the centerline as a rough alignment guide. If you can recruit a helper, it's nice here, or else roll up the cloth beforehand so that you can unroll it down the length of the tube, steering it straight as you go. You can adjust the position and aligment by pulling gently with a disposable paint brush (not foam). It's surprisingly easy to move around at this stage. Roll more resin on top, wetting the cloth until it's transparent, turning the tube as you go, until one tail is stuck down, then turn the tube the other direction and work the other tail end down around and over to meet and overlap the other end. This seam now becomes the centerline for the next (lighter) layer of cloth. Repeat the layup process with the second layer.
The peel-ply needs to be tight on top of the glass/resin. The best way I've found to get it tight is to tape (duct tape) the breather onto it. (Didn't you do this ahead of time? You silly person. The clock is ticking!) Lay the peel-ply down like you did the fabric, being especially careful to keep it wrinkle-free, since it's harder to steer and adjust peel-ply than glass fabric. A helper would be really useful. Roll it on, pulling and stretching. (You are wearing gloves, aren't you?) The need for the overlap and strong tape will quickly become apparent as you try to peel the stuff off. If you can make the tape joint so that some of the breather goes underneath the overlapping peel-ply, so much the better.
Continue stretching the breather as you continue around, then tape it every few inches, stretched as tightly as possible. Cover the whole mess with plastic sheeting, taped in a few places to hold its position. Use masking tape, so that you can get it off again, since the pressure from a vacuum press will stick tape down really thoroughly. Take your swaddled bundle of joy from the stands, and remove the broomstick, remembering to thank Harry Potter for letting you borrow it. At this point, I capped the holes in the end caps to prevent the vacuum bag getting pulled inside. I'm not sure that was necessary. Kit and kaboodle go into the vacuum bag. Seal up the opening and turn on the pump. (Did you test your bag for leaks already? Good. I knew you'd get something right eventually.)
After the resin has set, but is still somewhat green (maybe eight hours), take it out of the vacuum bag and remove the peel ply and breather. It can be rather tenacious stuff. (No wrinkles? Good. You must have gotten the breather and peel ply nice and tight.)
Now it's time to let it cure, then sand, sand, sand. Wear a respirator. The Vatsaas Rocketry site describes a clever rotary sanding gizmo to help the process, although with the peel-ply method, the sanding time is reduced dramatically.
Sorry I didn't take any pictures. You get kinda busy doing all this.
I'm sure you understand now.
Here's how I made the coupler tubes.
Measure the I.D. of the airframe tubing. Subtract the O.D of the
tube to be used for making the coupler (which may be the same
stuff). Convert to circumference by multiplying by pi. Add a
skosh. This is the width of the slice you need to remove from the
coupler tube stock. Set up some sort of jig to hold the tube firmly
and guide a router. (Remember, when the material is gone, the tube
won't be much use in supporting a router.) It's really handy when
the slice is some size that matches a router bit in your collection,
but Murphy's Law ensures the impossibility of this, and you'll need
to do it in two passes. Just be careful with alignment.
Cut a piece of fiberglass cloth the length of the coupler you're
making, or leastwise the length of the portion which will mate with
airframe. I made the width about 4" for this 6" tubing, and would
use wider for bigger tubes. Wet the area where the glass will go
(spanning the gap). Shove the nascent coupler tube into an airframe
tube, leaving the epoxy-and-glass section protruding. Insert a
bulkhead (the size which fits inside a coupler tube) inside the
slotted tube, pressing the coupler outward inside the airframe and
forcing it round. Apply the glass, then wet it on the outside with
more resin. Cover the glassy goo with wax paper, work out the
bubbles, then slide another section of airframe tube over it. It
helps if you can squeeze the coupler, and also if you can constrain
the wax paper from sliding. Sono tube is plastic- and wax-lined (as
a mold release agent); you will strip that crud off so that glue
will stick, but for now it's handy since you want to pull the
airframe tube sections off when the resin has set. As you are
sliding this section over the joint, a tidal wave of resin will get
pushed ahead of the leading edge, so be careful to control where it
goes. I found it useful to have the protruding part of the
coupler-to-be somewhat longer than the glass-overlap section, so
that there is somewhere for this excess resin to go, without
worrying about bonding coupler to airframe.
Apply more wax paper inside, covering the gap, and place another
bulkhead to force the coupler section tight against the inside of
this second section of airframe.
You can later fill the gap (if you ended up with one) and glass over
it from the inside.
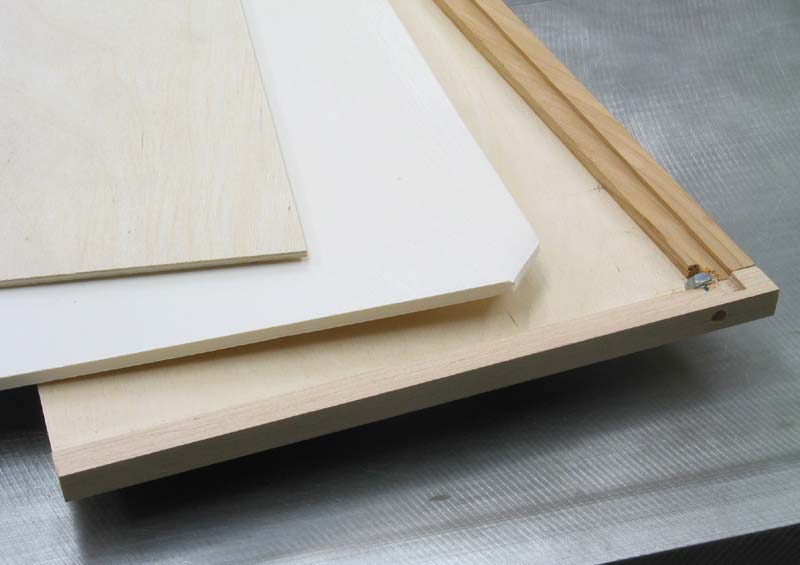
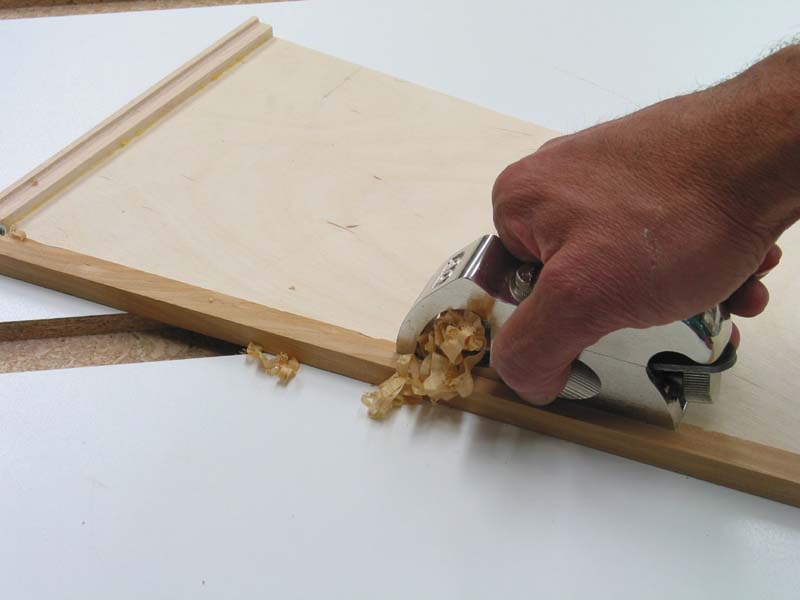
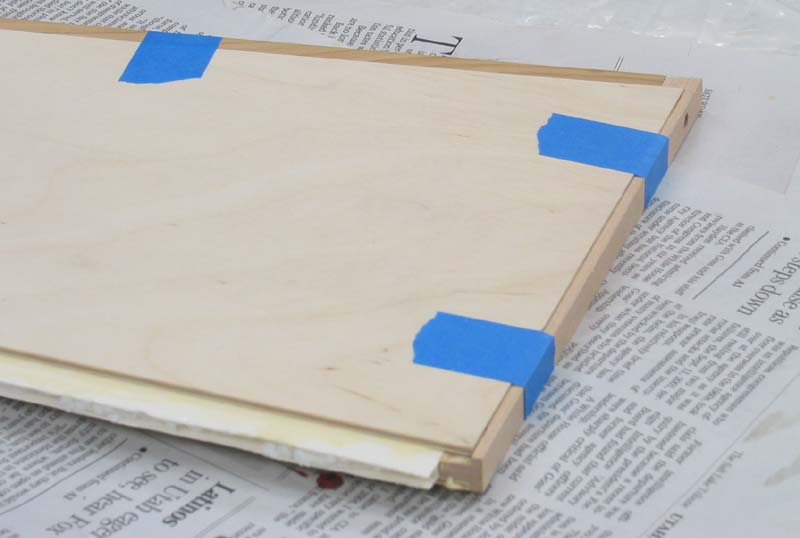
The pieces are cut, and the edges rabbeted to accept the outer plywood
skins. The edges then get glued onto one skin. After dry, the fit
gets perfected with a rabbet plane. I drilled a hole for the flare-mount
screws, and epoxied a nut inside, which I should have done before triming.
Making Couplers
Making Laminated Fins
|
|
|
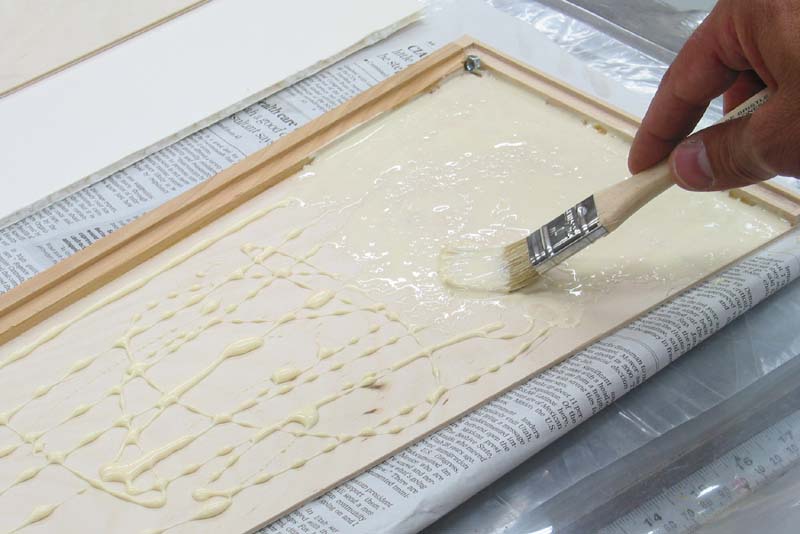
| After roughing up the poster board with coarse sandpaper, I applied glue (Titebond wood glue) and spread it with a disposable brush. Once both sides were coated, the parts were assembled and aligned, then taped to keep things in place in the vacuum press. |
 |
 |
 |
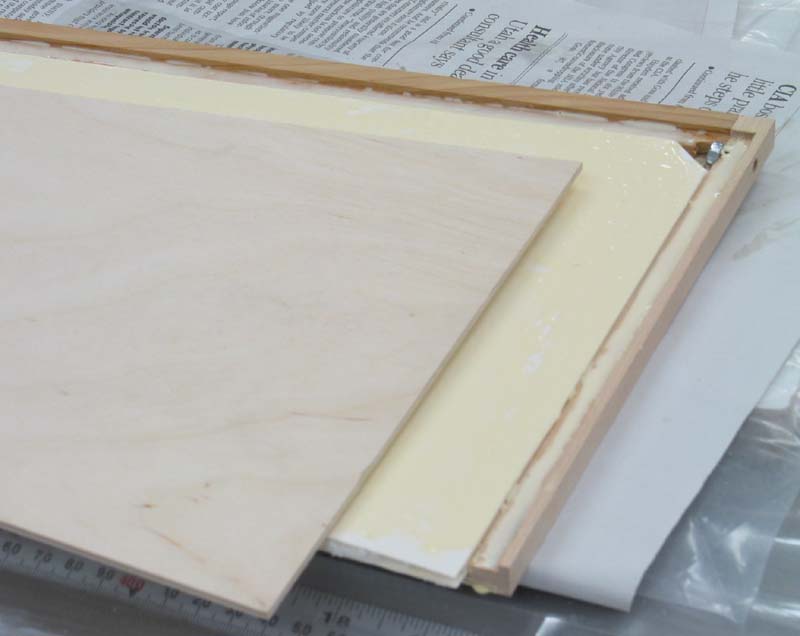
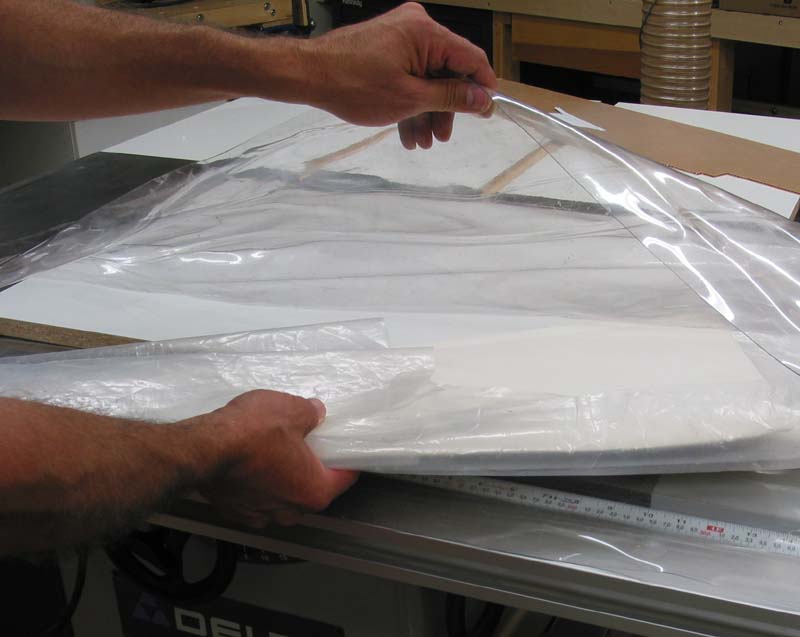
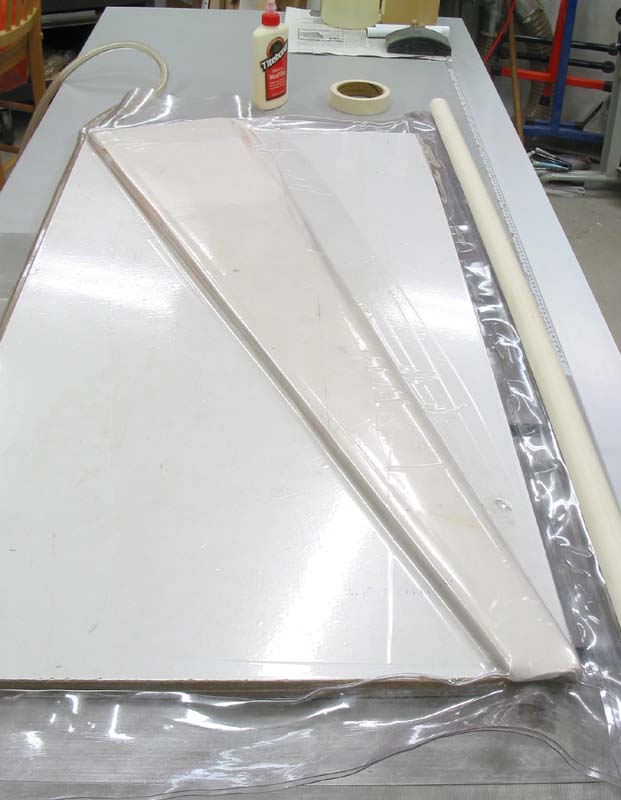
The bundle goes into the vacuum bag, the airtight closure applied, and the vacuum turned on. The fin sits on a piece of melamine-covered MDF to keep it flat.
 |
 |